
10 Tips for Choosing LED Lighting Fixtures?
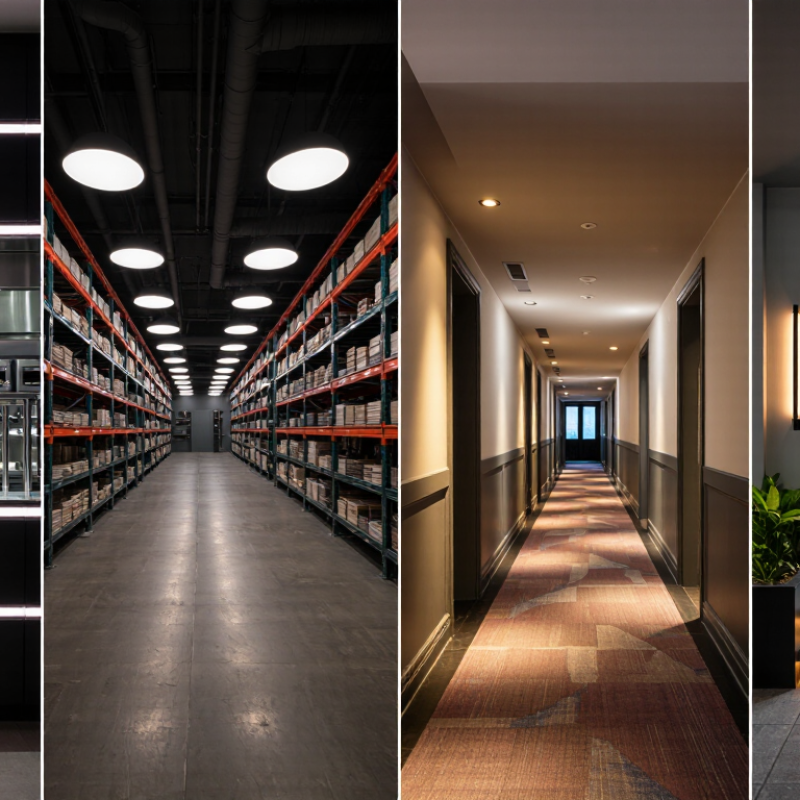
Choosing Led Lighting Fixtures is not simply a matter of selecting the brightest product. It requires practical judgment, technical knowledge, and attention to the space itself. A kitchen, warehouse, hotel corridor, and outdoor entrance all demand different lighting behavior. Brightness alone can create glare, harsh shadows, or unnecessary energy use.
Architectural lighting pioneer Richard Kelly wrote, “Light is the key to all visual experience.” His principle still matters when comparing modern LED products. A reliable fixture should support the task, shape the atmosphere, and remain comfortable after hours of use. Look closely at color temperature, color rendering index, beam angle, glare control, dimming compatibility, heat management, and rated lifespan. Certifications and manufacturer testing also deserve careful attention. Attractive packaging is not proof of quality.
I have seen projects where a cheap fixture looked impressive on day one, then showed uneven color within months. That mistake is easy to repeat. Sometimes, even professionals choose excessive brightness because the specification sheet feels reassuring. It is not always reassuring. Site measurements, ceiling height, surface color, maintenance access, and user needs should influence the final decision. The following ten tips offer a practical framework for choosing Led Lighting Fixtures with greater confidence. They also leave room for honest reconsideration, because no product is perfect for every installation. A thoughtful choice may cost more initially, yet reduce replacement work, discomfort, and wasted electricity later. Reliability begins with asking better questions before purchase.
Define the Lighting Purpose and Required Brightness
Define the lighting purpose before comparing LED fixtures. A kitchen worktop needs clear, focused light for chopping and reading measurements. A bedroom usually benefits from softer illumination and lower visual contrast. Start by asking what people will do in the space. This simple question prevents many expensive mistakes.
Measure brightness in lumens, then consider how that light reaches the room. A fixture with high output may still feel weak if its beam points upward. For detailed tasks, check the recommended lux level and place the light near the working surface. In one office project, I found that adding fewer, better-positioned fixtures reduced shadows more effectively than increasing total wattage. The result looked brighter without feeling harsh. Not every room needs maximum brightness.
Color quality matters too. Choose a suitable color temperature for the atmosphere, but do not rely on color temperature alone. A high color rendering index can make food, fabric, and skin appear more natural. Review the fixture’s photometric data, beam angle, glare rating, and dimming compatibility. These details often reveal more than attractive product photographs. I once selected a fixture by appearance and overlooked its narrow beam. The corners stayed noticeably dark. That error changed how I evaluate lighting plans now. Test one fixture at the actual mounting height before ordering many. Examine the room during daytime and evening conditions. Surface colors can alter the perceived brightness.
10 Tips for Choosing LED Lighting Fixtures? - Define the Lighting Purpose and Required Brightness
| Tip | Lighting Purpose | Typical Target Illuminance | Suggested LED Output | Recommended Color Temperature | Color Quality | Suitable Fixture Characteristics | Selection Note |
|---|---|---|---|---|---|---|---|
| 1 | General living-room lighting | 100–200 lux | 800–1,500 lumens per 10–15 m² area | 2700–3000 K | CRI 80 or higher | Diffused ceiling fixtures, wall lights, or dimmable downlights | Choose dimming capability so the brightness can be adjusted for relaxation and entertaining. |
| 2 | Kitchen work surfaces | 300–500 lux | 1,500–3,000 lumens for a typical kitchen zone | 3000–4000 K | CRI 80 or higher; CRI 90 is preferable for food preparation | Under-cabinet linear fixtures with low glare and even light distribution | Place task lighting in front of the user when possible to reduce countertop shadows. |
| 3 | Home office or study desk | 300–500 lux | 1,000–2,000 lumens for a 10–12 m² room | 3500–4000 K | CRI 80 or higher | Glare-controlled ceiling fixture plus an adjustable task lamp | Look for flicker-controlled drivers and shielding that limits reflections on screens. |
| 4 | Bedroom ambient lighting | 75–150 lux | 600–1,200 lumens for a 10–15 m² room | 2200–3000 K | CRI 80 or higher | Soft diffused fixtures, bedside lights, and dimmable sources | Use warmer light and lower output to support a calm evening environment. |
| 5 | Bathroom mirror and grooming area | 200–500 lux | 1,000–2,000 lumens for a typical bathroom | 3000–4000 K | CRI 90 or higher is preferred | Vertical mirror lighting, moisture-rated fixtures, and wide distribution | Use fixtures on both sides of the mirror or an evenly illuminated mirror to minimize facial shadows. |
| 6 | Hallways and stairs | 100–200 lux | 500–1,200 lumens per zone | 2700–3500 K | CRI 80 or higher | Recessed or surface-mounted fixtures with uniform spacing | Prioritize consistent illumination and occupancy sensors rather than excessive brightness. |
| 7 | Retail display or product presentation | 500–1,000 lux | 2,000–5,000 lumens per display zone | 3000–4000 K | CRI 90 or higher | Adjustable track lights or directional spotlights with controlled beam angles | Select beam angles according to display distance and avoid direct glare for customers. |
| 8 | Warehouse or storage area | 100–300 lux | 4,000–12,000 lumens per high-bay or linear fixture | 4000–5000 K | CRI 70 or higher; CRI 80 is preferable for detailed work | High-bay or linear fixtures with wide, efficient distribution | Verify mounting height, spacing, ambient temperature, and impact protection before selection. |
| 9 | Outdoor walkway or entrance | 10–50 lux | 300–1,000 lumens per fixture | 2700–4000 K | CRI 70 or higher | Weather-resistant fixtures with shielded, downward-directed light | Choose an appropriate ingress-protection rating and limit spill light toward neighbors or roads. |
| 10 | Workshop or detailed manual task | 500–1,000 lux | 2,000–5,000 lumens for a typical work area | 4000–5000 K | CRI 90 or higher | Bright task fixtures with low glare, stable output, and adjustable positioning | Combine general lighting with task lighting and check that shadows do not fall across the work surface. |
Note: Illuminance targets are typical planning ranges. Final fixture quantity and lumen output depend on room dimensions, mounting height, surface reflectance, fixture efficiency, layout, and applicable local lighting standards.
Related Posts
-
The Evolution of Led Light Bulbs and Their Impact on Global Sustainability
-

20 Effective Ways to Choose the Best Led Light Bulb for Your Home
-
Top 10 Commercial Led Lighting Fixtures for Global Buyers?
-

Exploring Smart Lighting Solutions in Retail Applications for Enhanced Energy Efficiency
-
Evaluating the Best LED Fixtures: A Comprehensive Guide for Global Buyers
-
Maximizing Value with Best LED Fixtures: Unmatched After-Sales Service and Cost-Effective Repair Examples